


Installation Guide
Board Room Installation
All of our houses are lightweight steel constructions, with wall built in A-class fire-resistant glass wool. Design load: roof load: 0.3KN/m²; floor load: 1.5KN/m²; bearing capacity of foundation soil: 0.45KN/m².
II. Construction Preparation
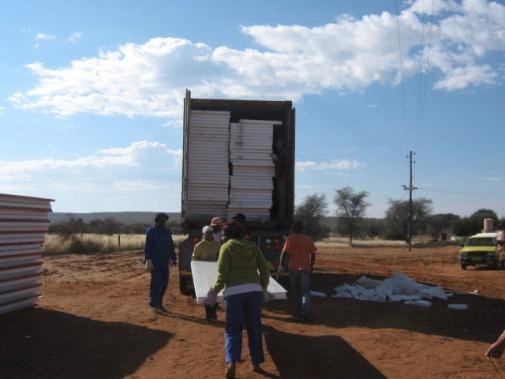
1、Goods and Materials Preparation: material, component (parts), machine tool and equipment are the basic to ensure the smooth going of construction, which shall be well prepared before project starts. According to the demanded amount of different materials, goods’ supply, transport and storage must be ready beforehand in order to meet construction demand.
2、Construction-site Preparation
(1)、 Pre-construction measurement shall be conducted according to drawing requirements, and measuring record shall be in line with drawing requirement. Any discrepancy found shall be measured again, and construction at this time shall not be conducted until such discrepancy has been approved or solved by both sides.
(2)、 “Three connections and one leveling” shall be earnestly fulfilled, viz. construction site is connected to water, electricity and road, and nearby ground is leveled before project starts.
(3)、 Basic concrete strength is able to meet design requirements, with correct basic axis and elevation position for base acceptance.
(4)、 With regard to equipment installation and debugging, any of relevant arrangement, plan, organization and implementation work shall be on a demand basis, before equipment is in position, shed is put up; power connection, maintenance and debugging. All construction equipment shall be thoroughly checked during test run before the starting of project.
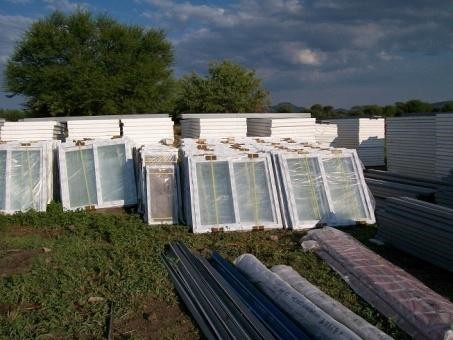
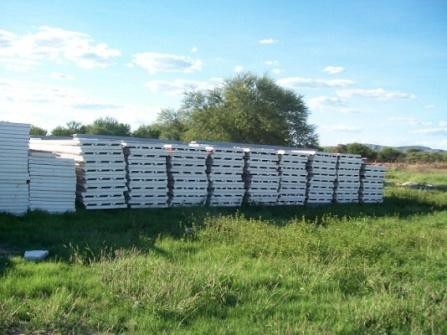
(5)、 All component (parts), product and material shall be well sorted before storage.
(6)、 Fire-fighting and other safety equipment shall be equipped.
III. Site Operation Step
1、House Construction Processa、Choosing Installation Method, Preparing Machine Tool
b、Structural Measurement and Installation
c、Wall (including interior wall ) Installation.
d、Door & Window Installation
e、Roof Installation。
f、Wall Inspection and Improvement。
g、Finished Product’s De-film, De-dusting and Protection。


Instructions on Modular House Installation
Installation tools preparation:
• Carnes, forklifts
• Tools: hand-held cutter, electric drill, 4.2 drill, rivet gun, tape, art knife, No.14 open spanner, straight screwdriver, rubber hammer, glue gun, cross-shaped batch head, a set of tools for electrician (package), No.12 internal hexagonal wrench, No. 19~21 open-end wrenches, No. 17~19 open spanners, pry bar, etc.
Installation Step 1:
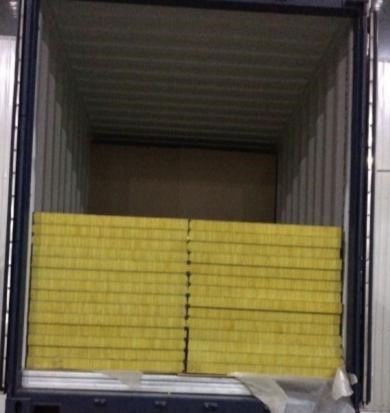
• Coordinate forklifts with cranes to take packaged vertically placed top -bottom structure and materials out of the container. Count all items of materials clearly and place them by category.
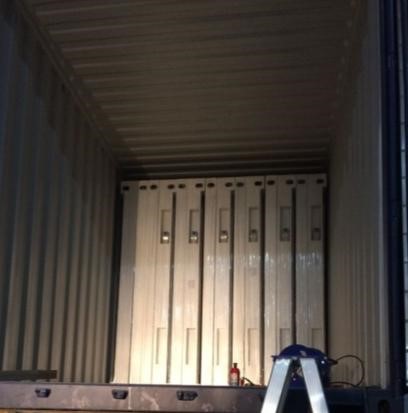
• Place the vertically packaged top-bottom structure flat to make the bottom frame down and top frame up.
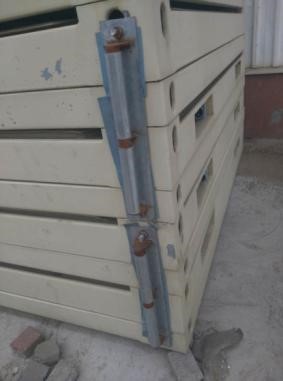
• Unlock the packaged pieces and unfasten every set of packaged top-bottom frames. Place the materials by installation serial number.
Installation Step 2
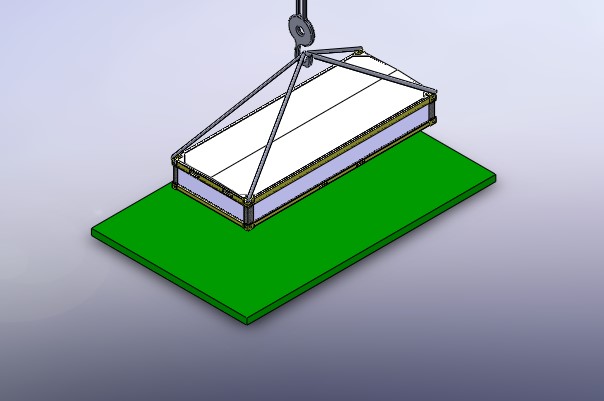
• Lift the case roof up with a crane.

Installation Step 3:

Installation Step 4
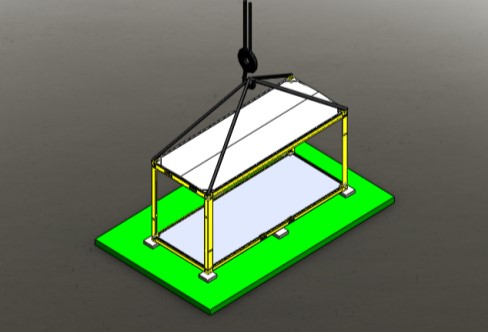
• Install the four posts on the bottom of the case by order and connect them to case bottom with M12 bolts.
• Lift the case roof up, place it above the four posts and connect the posts with case roof with M12 bolts. Adjust its perpendicularity, and fasten bolts.

Installation Step 5
• Insert the main beam on the bottom of the case with drainage channels.

Installation Step 6
• Wallboard classification
• Wallboard installation: insert the wallboard bottom into the drainage channels around the case bottom, fix the top of wallboard onto the inside of case roof through M8bolts on the top and hook angle of the wallboard.
• Wallboard location shall be arranged in accordance with specified location.
• Install M10 bolts between 2nd and 3rd pieces and between 3rd and 4th piece on the long side. Fix the bottom of the side with nuts and screw channel and fix the top of the side onto the inside of the case roof through the hook angle of the screw.
Installation Step 7
• Insert the upper end of the drain pipe into the water outlet on the apex angle of the case and plug the lower end (fix the lower end with pipe clamps as a limit) into the round hole of downpipe on base angle of the case.

Installation Step 8
• Use the electric drill to dock ∅4.0mmof holes on deep floor of posts and fix the wallboard onto posts with ∅4.8×80 of self tapping screws.
Installation Step 9
• Connect wires between wallboards and case roof.

Installation Step 10
• Bottom pressed parts (bottom baseboard) installation: tear the shade strip first and then fix pressed parts onto the wallboards with M4.2*16 self tapping screws. Pay attention to the flatness of installation. Fix a screw at an interval of about300mm. Cover the shade strip.

Installation Step 11
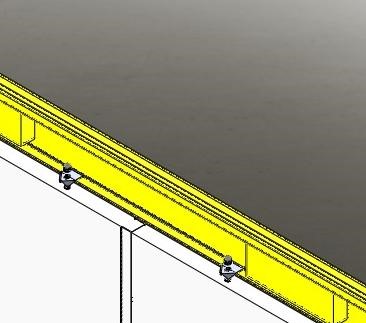
• Install top pressed parts first and then install wall-corner pressed parts. Installation method is the same as bottom pressed parts installation.
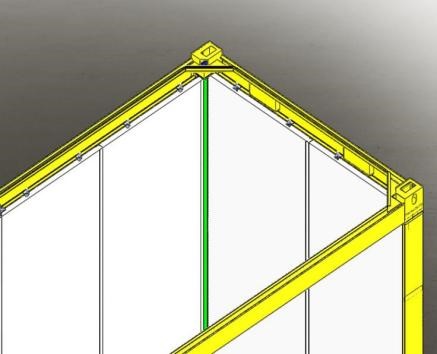
• Install three-dimensional angles of the four apex angles and fill the seam with silicon sealant.

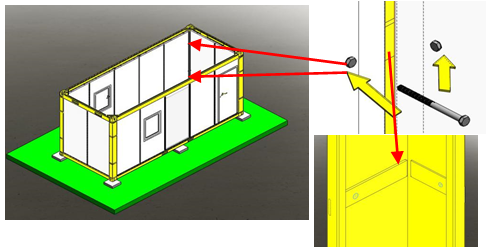
Installation Step 12
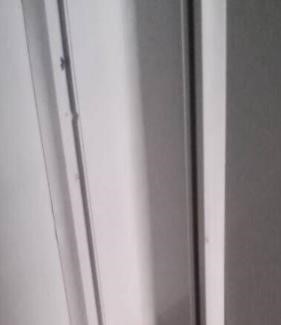
• Doors and windows installation: insert a72mmof aluminum groove in the middle of the wallboard, and make it parallel and level to door and window holes, and fix it with blind rivets.

• Install door and window frames form the outside to inside; fix them on the side direction. Buckle the matching edgings indoor and spread silicon sealant on joint seams between doors, windows and wallboards evenly for sealing. (Tear protective films off before spreading silicon sealant)
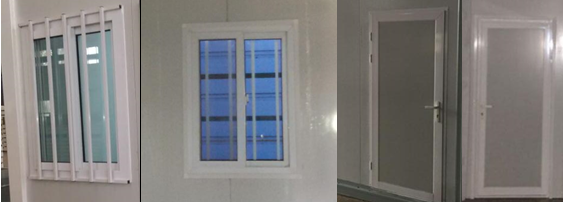
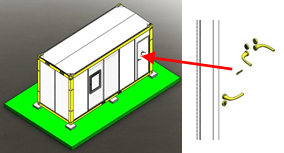
• Door lock installation
Installation Step 13
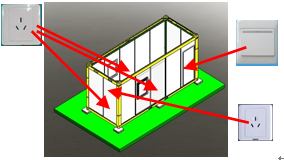
• Install switch panels and socket panels
Installation Step 14
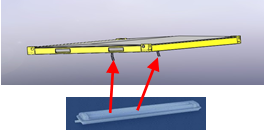
• Install fluorescent lamps.
Installation Step 15
• Spread weather-proof glue around the surroundings of posts, as shown in the bold line.
Clean the room up and tear off the protective films on wallboards.


-
 The public
 -
 scanMobile
station
scanMobile
station
